Zero to Logo: The Creative Process in 7 Steps
by Faith Towers

Aside from being large, successful companies, Nike, Pepsi and Apple have something else in common: the average American consumer can recognize each company’s logo without hesitation. A successful logo is simple and representative of the company it stands for. A strong logo takes time, money and effort to create. Designing a small visual representation of an entire company can be a daunting task, but if the process is done correctly, a logo can be a very effective marketing device. All creative professionals have different workflow systems, and there are many different paths that lead to a successful end point; but the general sequence of the process is usually the same.
The first part of the logo design process involves a discussion with the client about the company's goals and visual aesthetic. Then comes the research and development stage. This is followed by the production of drafts, and lastly refinement and brand identity development using the new logo design. Drawing the logo on the computer is only a small component of the process; research and preparation often takes the majority of the time. Despite the simplicity and small size of the final product, designing a logo can be a surprisingly complex process. In this article, I will break down the 7 steps in the process.
Most design projects start with signing a contract to safeguard both parties legally. Although it is not a glamorous part of the business, it is a necessary evil that protects all involved. In addition to being an advantage legally, agreements can also help to lay out the timeline for the project and define any specifics such as revision limits, payment deadlines and deliverables.
Step 1: The Design Brief
The first step in the creative portion of the logo design process is called the design brief. This is when the designer discusses the project at length with the client. Understanding the company’s goals for the logo is critical. The designer should gather as much information from the client as possible. It is important to learn where the logo will be used, on what scale and in what capacity. A logo that will be used on a billboard might contain more detail than a logo that will be used on letterhead and business cards. The designer should also learn about the company’s target audience. The logo should reflect and attract the correct demographic. It is also important for the designer to learn whether the company has already established a visual aesthetic. If there is an existing color scheme or style established, it is crucial to find out whether the client would like to incorporate those characteristics into the new logo. In some circumstances, a new logo might be a chance to start fresh and create a brand new visual identity, whereas in other circumstances it might be important to the client that some sort of consistency is maintained.
Step 2: Research
Once a sufficient amount of general information has been gathered, the designer must delve deeper into the research stage. Often clients cannot verbalize exactly what they envision for the logo, so it is the designer’s duty to coax pertinent information from the client. Asking relevant, strategic questions should help the client pass on any applicable information. Successful logos can allude to any number of things; for example, some logos subtly refer to the company’s geographic location. Establishing potential themes will benefit the designer, providing more material to use when brainstorming and sketching later in the process. Themes can be literal at this point; the art is in converting them to non-literal representations later on.
In addition to speaking directly with the client, the designer often does some cursory market research on the company and its competitors. A client’s opinion of their own company only tells half the story; any good designer should also look them up (online and offline) to get a sense of the target customer’s vision of the company. Examining similar companies’ identity systems may lend insight into the effectiveness of various logo styles. Researching current trends in the industry can also be wise.
Step 3: Brainstorming and Conceptualization

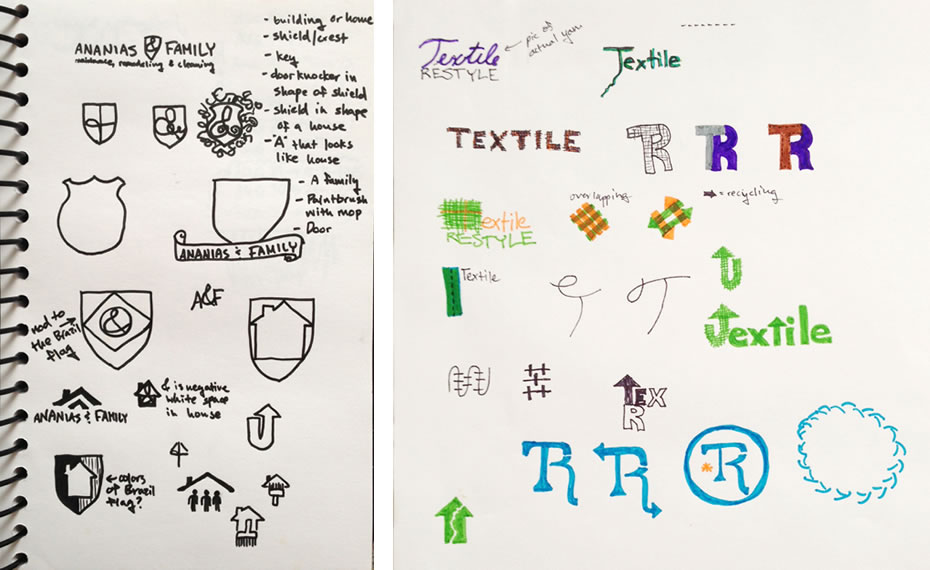
Again, it is important to note that all designers are different. But identifying keywords related to the company and its product or service is a common practice at this point in the creative process. These words will be used to inspire possible visual representations of the company. Once ideas begin flowing onto the page in text form, visual symbols and shapes will begin to take form also. Now it is time to begin conceptualizing the themes and text established earlier during the brainstorming phase. Sketching these ideas on paper is an essential step that encourages the designer to slow down and examine all possible angles and directions.
Step 4: Draft Production

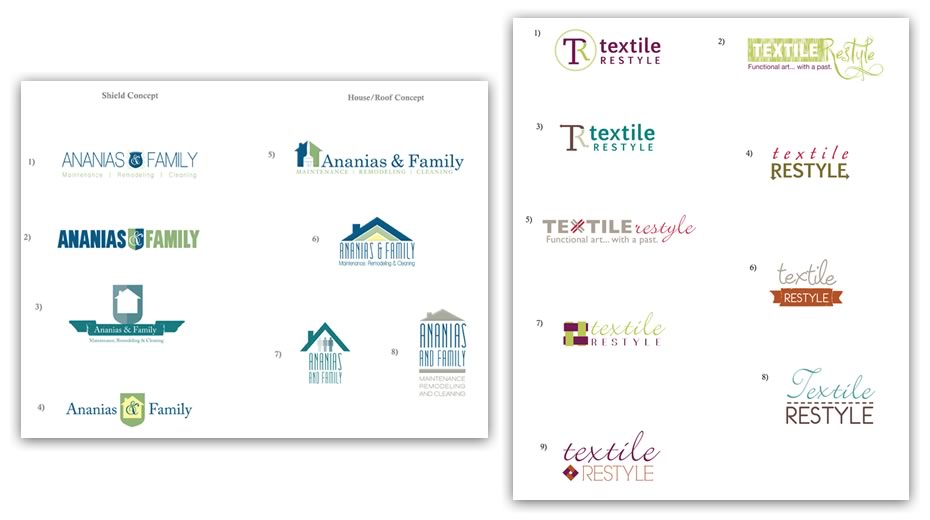
Once sufficient time has been spent on research and sketching, the draft production process begins. Digital implementation is usually executed using Adobe Illustrator, a vector based drawing program. At this point, the most successful ideas developed during the sketching phase will be recreated on the computer. They will begin to come to life with the addition of color and detail, and they will be tweaked until they accurately represent the client’s wishes. Some logos rely solely on words or text, called “wordmarks,” while for others text is just one piece of the puzzle. Regardless, it is important to note here that choosing the typeface will set the tone for the whole logo. Testing each logo option with a number of different fonts will ultimately lead to a more effective final product.
Step 5: Step Back
At this point, many designers will step away from the project for a brief time. This break acts as a time of reflection, giving the designer a chance to return to the project with a fresh perspective. This may also be a good opportunity to gather feedback from unbiased outside parties. Designing a logo can be a very involved process; so gaining insight from an extra pair of eyes (or two) is highly beneficial. After returning to the logo designs, the most effective iterations must be chosen and assembled for presentation.
Step 6: Client Feedback
Now that a number of options have been created, the most effective choices are presented to the client for consideration. Sometimes the logo options may be delivered contextually, to help the client envision how they will look on a piece of collateral. Usually a written description of the project will accompany the logo options. At this point, the client should consider the ideas and respond with notes. The designer then takes the client feedback into consideration, and makes changes accordingly. The improved logo is again presented to the client. Often there are many rounds of revisions before the client is satisfied with the final product.
Step 7: Delivery

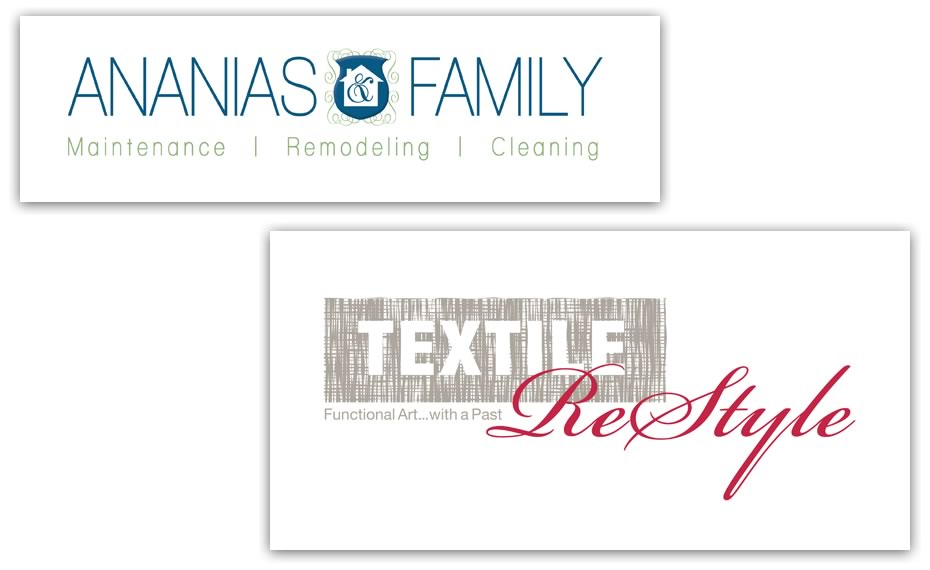
Once the client is happy with the resulting logo, the designer will produce a variety of file types that can be used for various outputs. Important file types include EPS, JPEG and possibly TIF in certain circumstances. Some clients may also need a black and white version of the final logo. A separate simplified version may be needed in situations in which the full-size logo is highly detailed and does not scale down well. Trying to anticipate all possible needs of the client can be advantageous, preventing the need for corrections and revisions in the future.
Upon delivery of the final files, it is time to think about employing the logo on marketing materials and promotional products. Many times the designer will continue working with the client to create a full brand identity system using the new logo.
Conclusion
Although successful logos appear to be very simple visually, the process of creating a logo is quite the opposite. Designing a logo is a time-consuming project with many different phases of development required to produce a powerful final product. It is a collaborative process during which communication between the designer and the client is imperative. The investment is worth it, however – when the process is executed successfully, the resulting logo becomes a valuable asset for the company’s marketing efforts.
Whether you are a designer embarking on logo design or a business person looking to create your own logo, I hope this article has helped you understand the 7 fundamental steps to crafting the perfect logo. Happy designing!